How to Sharpen an Image in Photoshop Using a High Pass Filter

What makes the High Pass Filter such a good sharpening tool in Photoshop is that it is specifically designed to look for edges. Since those edges are where we need to work, that makes it an ideal tool to use for sharpening.
Essentially, the High Pass filter scours the shot for edges and highlights them. Anything that isn’t an edge is passed over and ignored.
Once the High Pass Filter has done its thing, you can use any number of Photoshop’s blending modes that increase contrast to work on all those edges.
Pretty simple, right?
Below, I’ve got a step-by-step process for how to use a High Pass Filter to sharpen your photos, which, in my opinion, is the best way to sharpen images in Photoshop.
How to Sharpen an Image Using a High Pass Filter
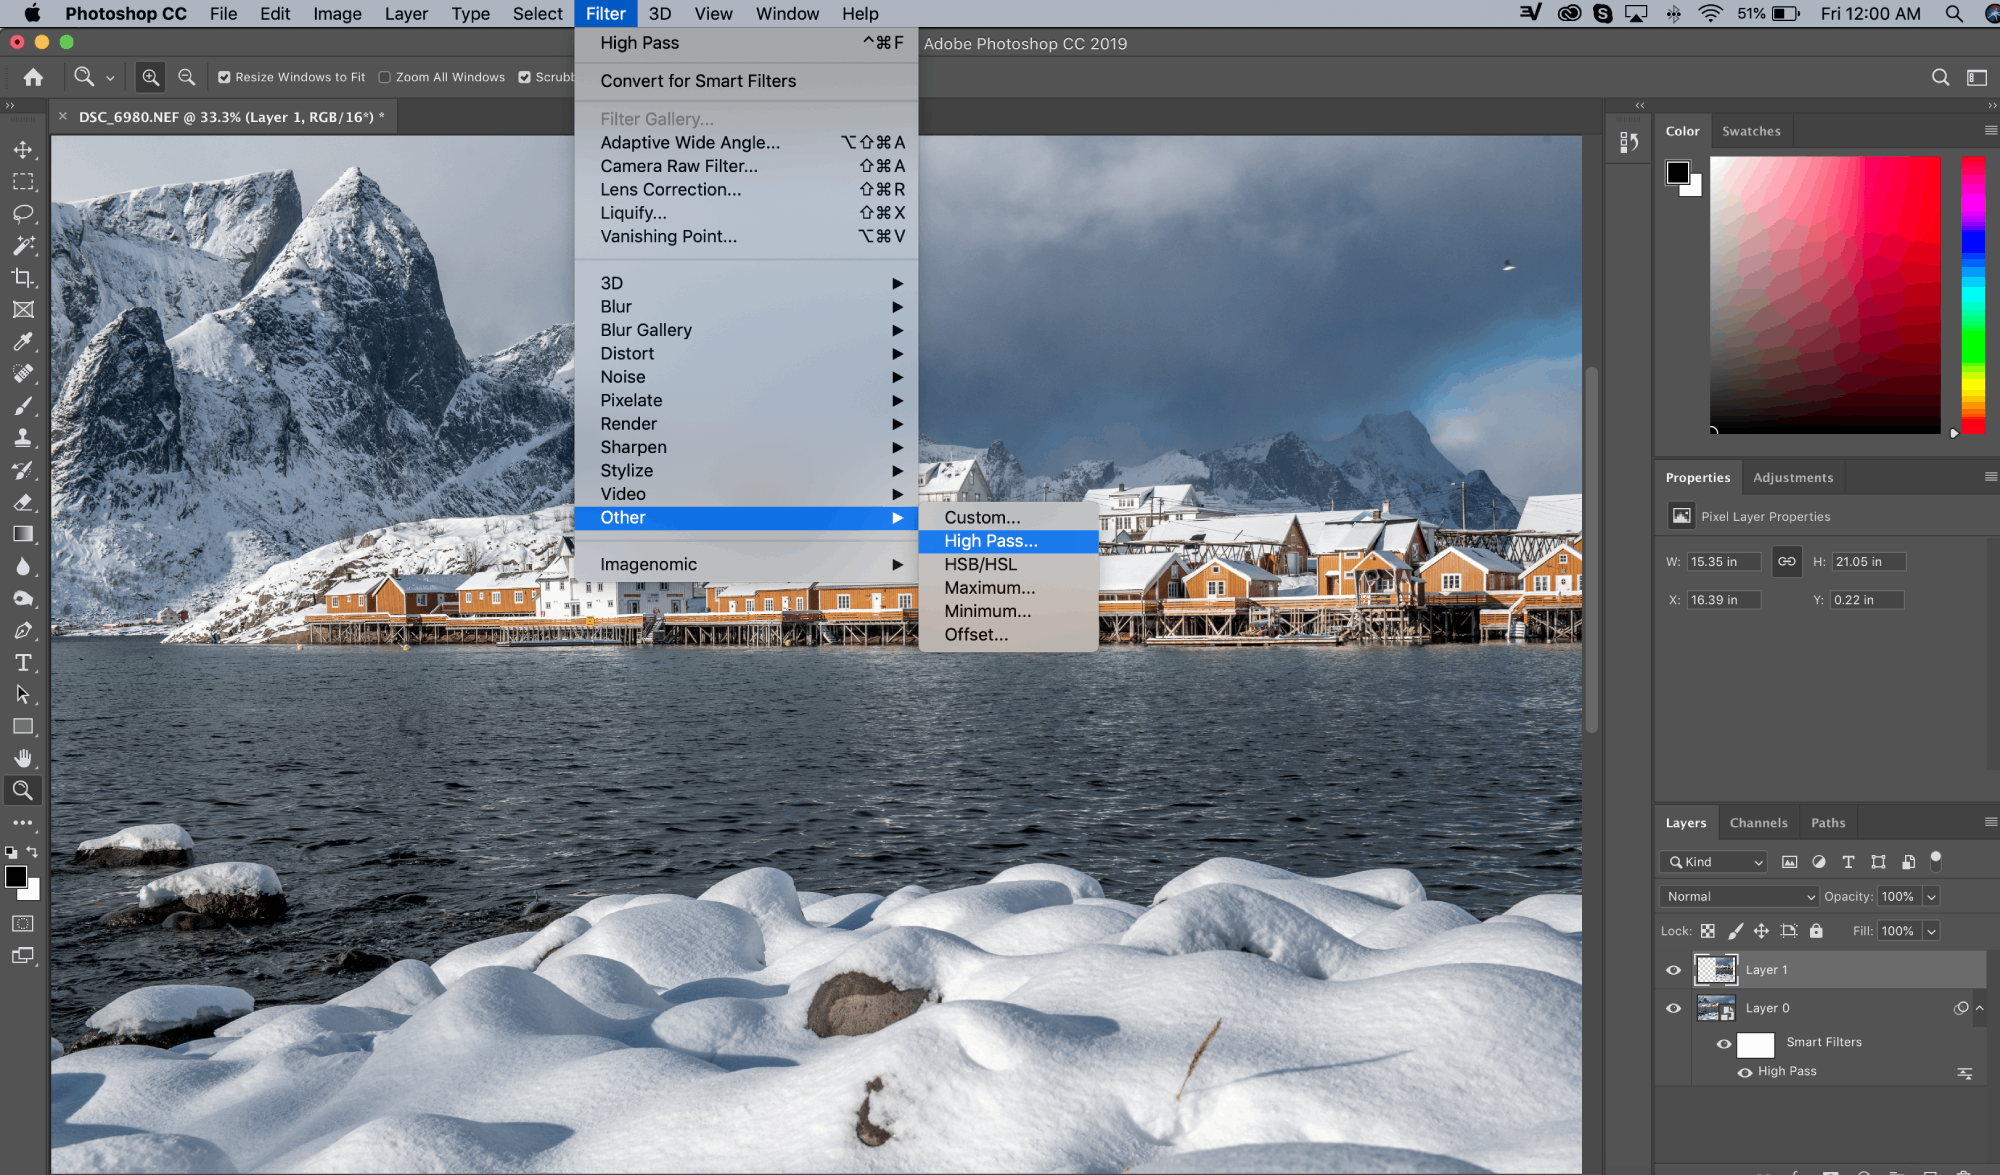
To illustrate this process, I’ll use a photo I recently took on a trip to the Lofoten Islands in Norway.
You can follow along and complete each step using any photo of yours that needs sharpening as well.
How to Use a High Pass Filter Step 1: Convert Background Layer to Smart Object

Above, you can see my final image.
Again, as I noted earlier, less is usually more, so I have been very judicious with the sharpening of this shot.
This is often a matter of personal preference, though, so experiment with the High Pass Filter and find what works best for you. Regardless of the Radius, Blend Mode, and Opacity you use, you now know how to sharpen an image in Photoshop!
Categories: Reviews